How to Make a Pizza Box Storyboard
This is part of a series of posts taken from Dr David Smawfield’s catalogue of resources created to help new teachers, or teachers in training, feel comfortable in their new classes and effectively control their new pupils.
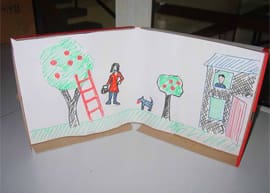
Although using a pizza box as a storyboard seems like a strange idea, it is actually quite ingenious. The great advantage of using a pizza box is that all cutouts and materials can be stored in the closed box when not in use. The box itself can be stored easily, like a book or folder, on a bookshelf, when not in use.
The easiest technique is to use a felt background with felt cutouts, as felt cut outs will adhere to a felt background.
Alternatively, double-sided tape stuck on the back of paper or card cutouts are another “adhesive” technique that can be used with felt. A 1cm square of double-sided tape will probably be sufficient to provide the required adhesion for each shape.
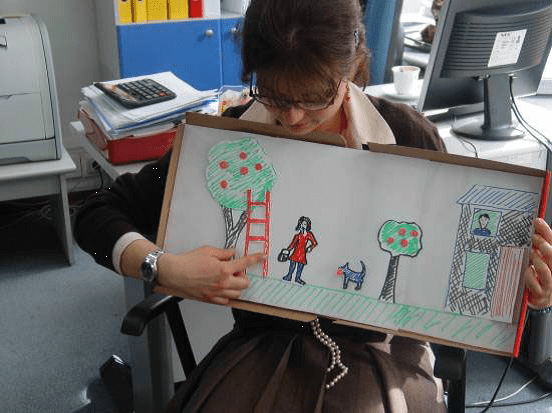
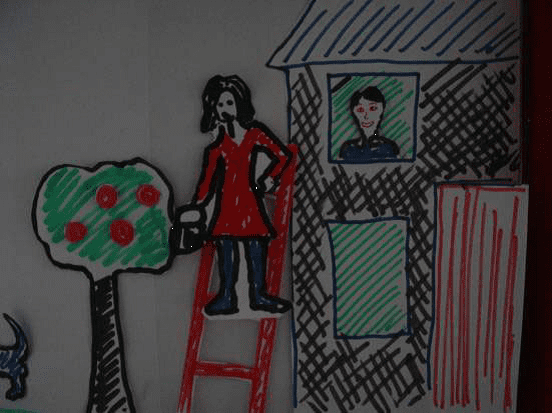
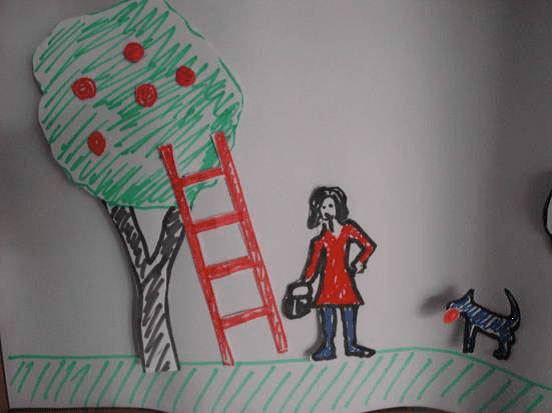
The technique can also use a paper or card background and use paper or card cutouts. If paper/card is used, small balls of BlueTak provide perfect adhesion. The pizza box opens out to make the display background for the story being told. See the photographs below of our very own Pizza Box storyboard.
Dr Smawfield is a senior international development consultant based in the UK and has a strong background in teacher education. He has worked in countries around the world, including Bangladesh, Malawi, Romania and Vietnam and is especially interested in active learning and low-cost teaching aids. You can find out more about his work on his website..
Popular Teaching Resources


Stay Up To Date
Sign up for our newsletter and we’ll let you know when we create new early years resources.