Craft Project: Papier-Mâché Maracas
Papier-mâché basically means ‘mashed paper’ in French. With bits of plain, boring old paper and a gloopy paste you can make solid 3d structures. Layers of paper are built up over a mould and the paper will take the shape of the object it covers. It is easy to do, but the process can take a number of days because you leave the paper to dry in between layers.
Materials
Newspaper
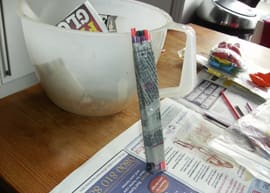
Wallpaper paste (or watered down PVA glue)
Balloon
Paintbrush (optional)
Paint
Strong stick (or straws and sellotape)
Instructions
1. First of all you need to make the paste that you are going to use to stick the newspaper together. To make this you can either water down some PVA glue (about 1 part water to 1 part glue) or you can try this quick (and cheap) method for making your own paste from flour, water and salt.

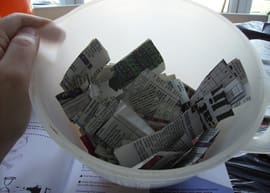
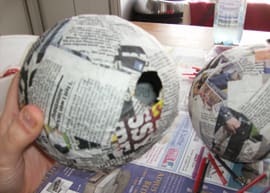
2. Collect together a bundle of newspaper and tear it into small pieces, roughly about 2x5cm (but it’s okay if they are different shapes and sizes).
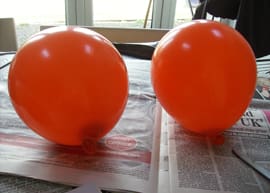
3. Blow up your two balloons to the size you want the maracas to be. Don’t blow them up too much or the maracas will be too heavy to shake!
4. Start applying the newspaper to the balloon by pasting a small amount of glue onto the mould and then gradually layering the newspaper on piece by piece. Make sure you use lots of paste and cover every part of the newspaper so the entire mould is covered. You can use a paint brush to do this, but a messier option is to dip the newspaper into the paste and apply it with your hands. Put lots of newspaper (or bin bags) down first if you’re going to do it this way!
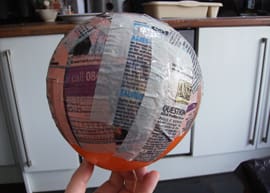
5. You will need to apply at least 3 layers of newspaper to the balloon to make it strong enough, and each layer needs to be left to dry completely (a sunny windowsill is a good place for this). Don’t be tempted to start applying another layer before the previous layer is dry as the maraca won’t be strong enough to hold the beads.
6. Make sure to put several layer around the base of the balloon where the knot is, so this part remains solid enough to attach the handle to.
7. Once the final layer is completely dry, pop the balloon and remove it from the mould. This should hopefully leave you with a strong outer casing.
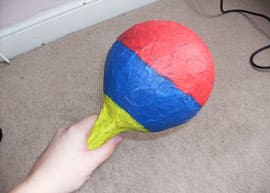
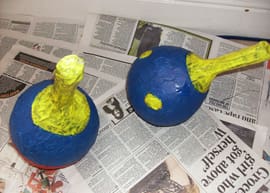
8. You can use any kind of strong stick as the handle for the maracas. I made my own by sticking together a collection of straws and covering them in papier-mâché (this also meant that I could make them exactly the right size to fit in the gap at the base).
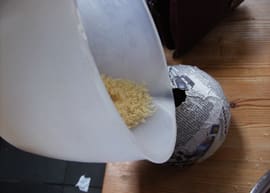
9. Before attaching the handles, fill each maraca with dry rice or pasta (or any other kind of small hard object).
10. Attach the handle by sellotaping them into position, then putting a layer of papier-mache around the area to make it stronger.
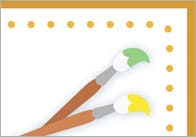
11. Now all you have to do is paint them. I have chosen quite a simple design for my maracas, but you can make them as colourful as you like!
If you would like to share photos of your papier-mâché maracas then please feel free to post them on our Facebook page, or just leave a comment below.
Comments
Leave a Reply
Popular Teaching Resources


Stay Up To Date
Sign up for our newsletter and we’ll let you know when we create new early years resources.
Great idea for a rainy day (or rainy 3 days!)
We spent a couple of weeks making instruments in Messy Church and these mini maracas were very popular. Thanks!
Nice idea.